
 321
321
Overview
This article explains the two versions of the CORE Front Desk Kiosk, how to access them, and their intended use cases — from client self-check-in to walk-in trial activations.
🎥 Watch the walkthrough:
Or preview it below:
Prerequisites
- Admin or manager access in CORE
- Location set up in your account
Step-by-step instructions
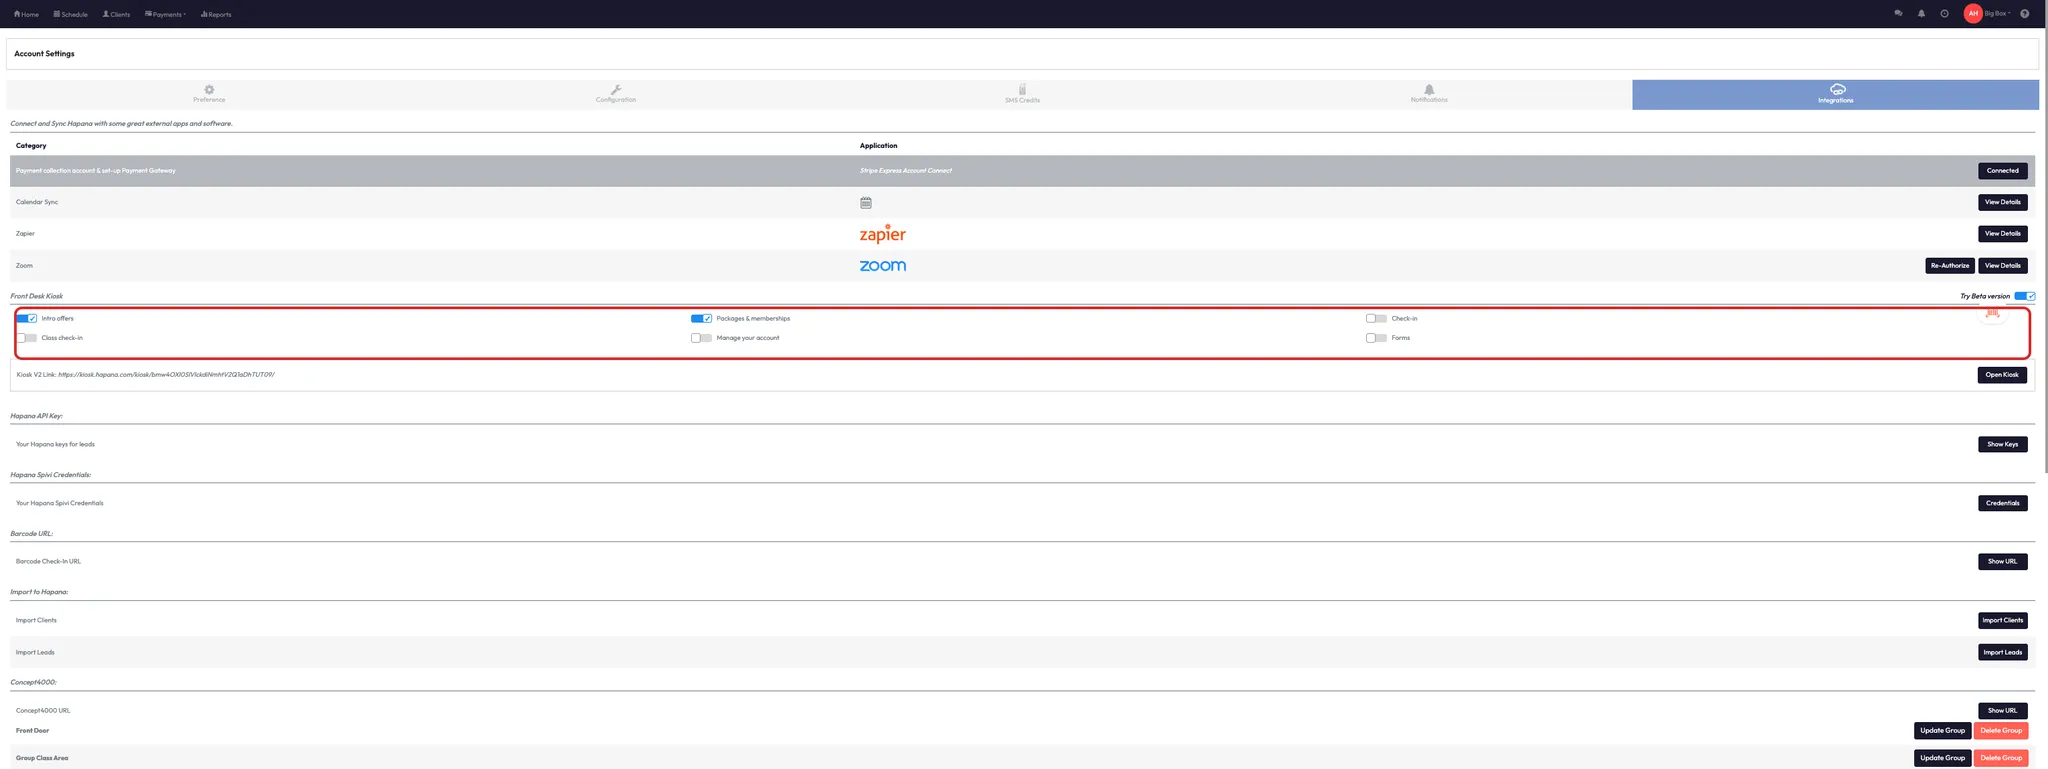
Step 1: Navigate to kiosk settings
- Click on your Location Name (top right)
- Go to Account Settings > Integrations
- Scroll down to find Front Desk Kiosk options


Step 2: Open the V1 (Check-in) Kiosk
- Click Open Kiosk next to the first option
- This version is focused on Session Check-In
- Members see a list of upcoming sessions and can tick themselves in upon arrival
Tip: Leave this open on a tablet at your front desk for easy access.


Step 3: Open the V2 (Sales) Kiosk (Beta)
- Click Open Kiosk next to the second version
- This version is for walk-in clients to:
- Activate Intro Offers
- Purchase Packages or Memberships
- Clients fill out their details and complete sign-up on the spot
Tip: Best used for welcoming new clients and activating offers without needing a staff member.
Expected outcome
Clients can check themselves into classes or register for intro offers directly via the kiosk, reducing admin load and improving front desk flow.
FAQs
Q: Can I have both kiosk types open at once?
A: Yes — many studios run both: one for check-in, one for new client sign-ups.
Q: Do members need an account to use the V1 check-in?
A: Yes — only existing clients with upcoming bookings will appear.
Q: Is the V2 kiosk available to all brands?
A: It is currently in beta — reach out to your CS manager for access.
Still need help?
Reach out to our support team via [email protected]

