
 241
241
Overview
This guide walks you through how to manage Additional Billing Types in CORE — including how to add, edit, or toggle billing methods on/off. These options appear at checkout during product sales and help you track different payment methods like EFTPOS, cash, vouchers, or studio-specific types.
🎥 Watch the walkthrough:
Or preview it below:
Prerequisites
- Admin access to CORE
- Familiarity with POS payment workflows
Step-by-step instructions
Step 1: Access retail settings
- Go to Payments > Retail Configurations > Retail Settings.
- Scroll to Additional Billing Types.

Step 2: Add or edit billing types
- Click the Pencil Icon next to Additional Billing Types.
- To edit existing options:
- Tick or untick billing types to enable/disable.
- To create a new type:
- Type the label (e.g. “EFTPOS” or “Voucher”).
- Click Add.
- Click Save when done.


Step 3: Use billing types at checkout
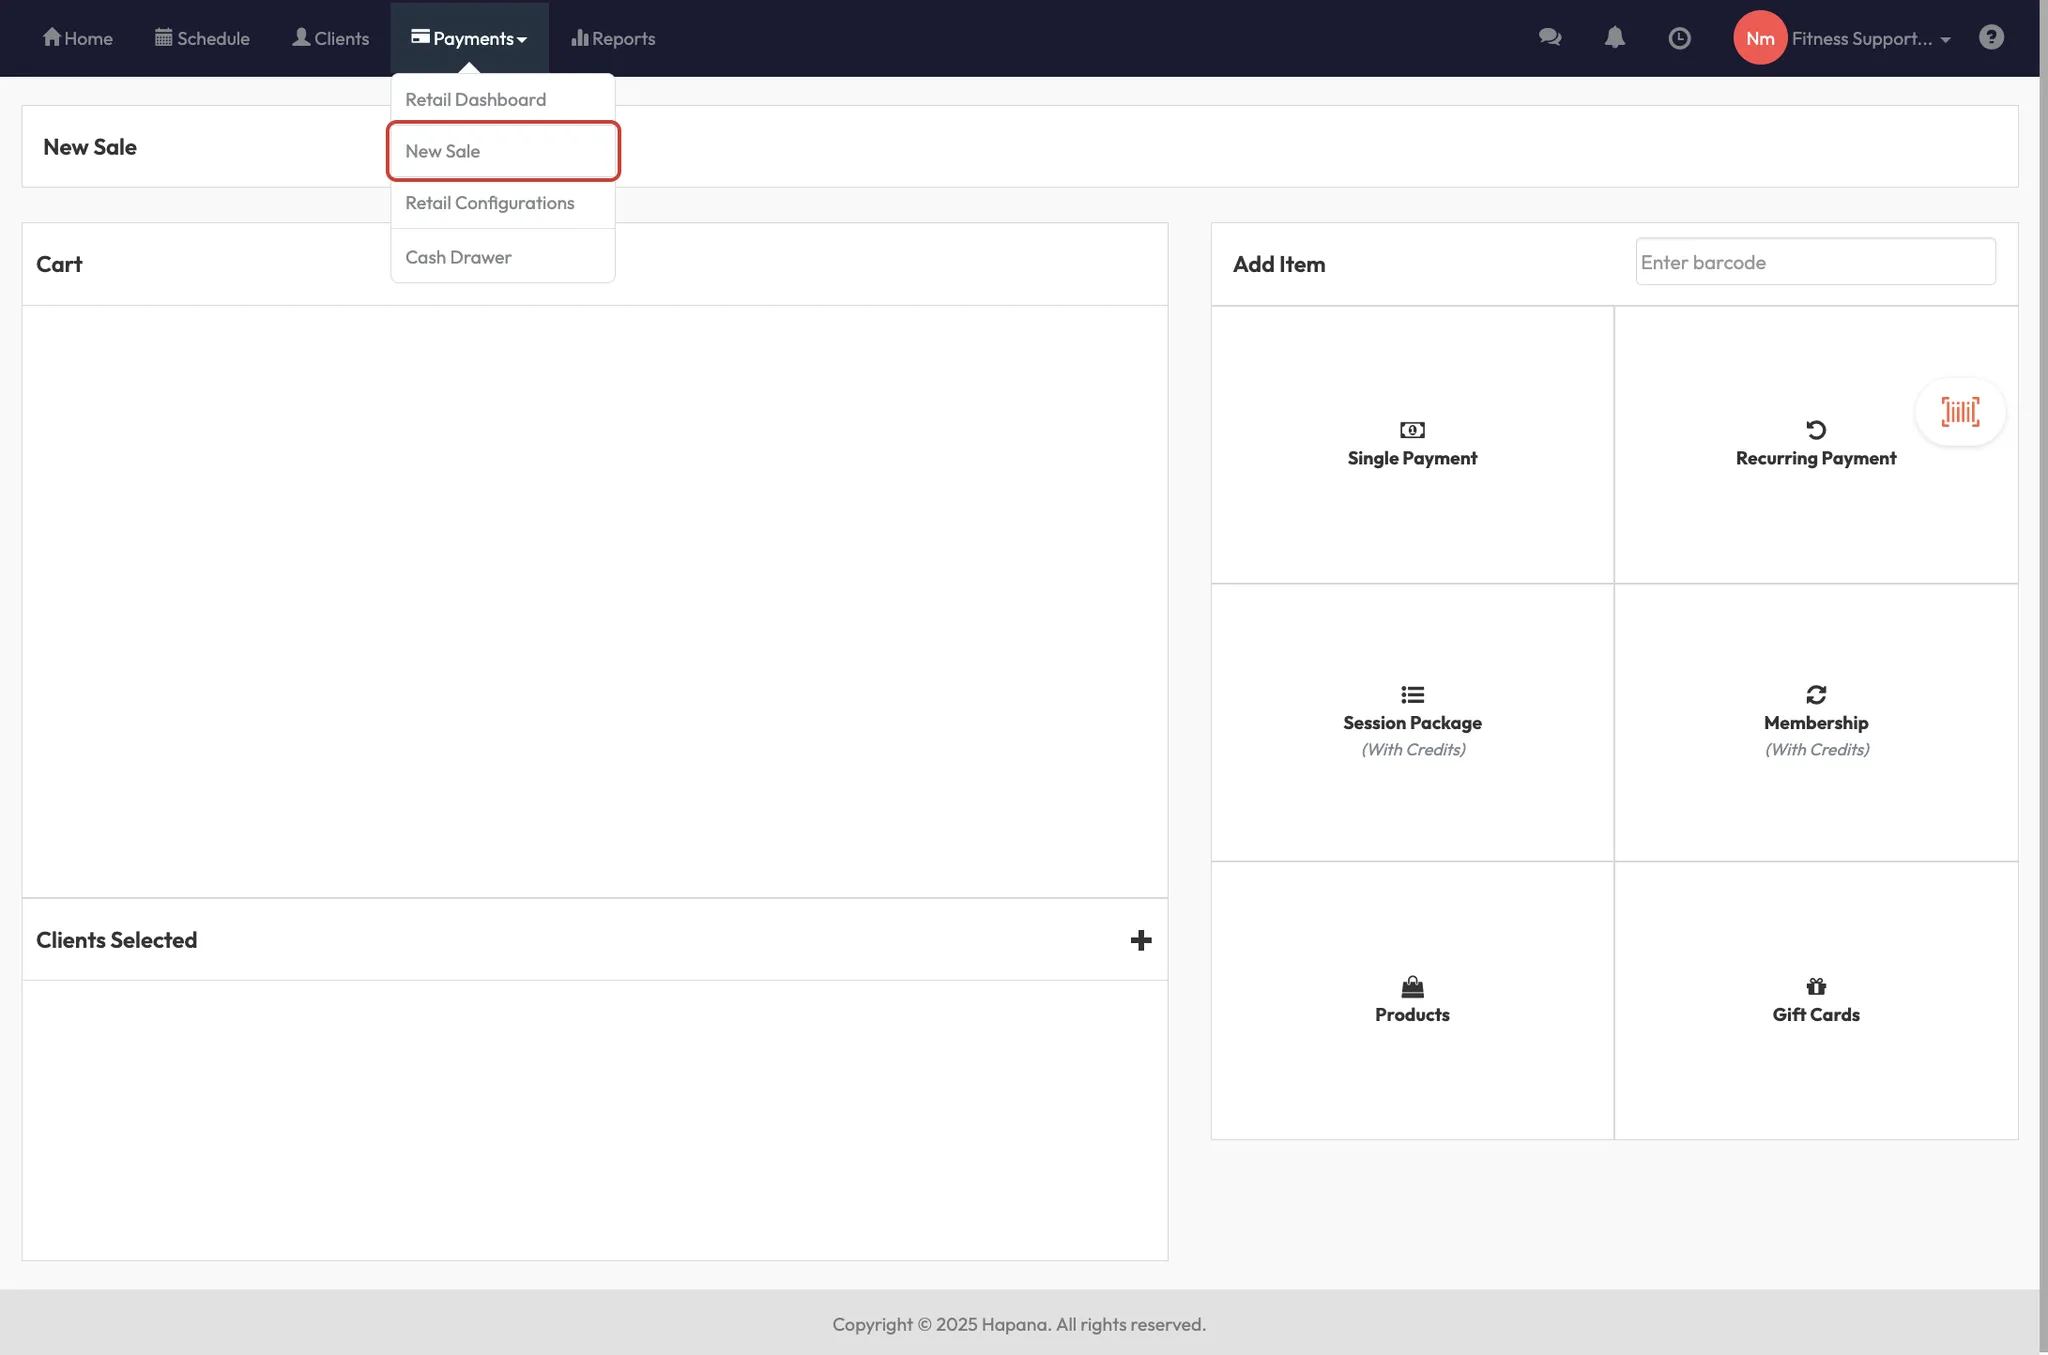
- Go to Payments > New Sale.
- Add a product (e.g. Gatorade) to the cart.
- Select a client.
- On the Checkout screen, choose your preferred billing type from the list at the top.
- Click Confirm Payment to complete the sale.
Tip: Use billing types to reflect payment source for reporting and reconciliation purposes.


Expected outcome
You’ll have customized billing options visible at checkout, giving you flexibility for studio-specific or offline payment types and improved tracking in reports.
FAQs
Q: Can I remove a billing type?
A: You can’t delete it, but you can untick it to hide it from checkout.
Q: Do billing types apply to memberships too?
A: No — they are only available for product sales via POS.
Q: Are these shown to clients in the app?
A: No — they are only visible to staff during in-studio transactions.
Still need help?
Reach out to our support team via [email protected]

