
 405
405
Overview
Hapana allows you to manage two key types of client acknowledgements — Policies and Package or Membership Agreements. Understanding the difference is important:
- Policies: These are general terms that clients agree to by ticking a box during sign-up (e.g., cancellation or liability policies).
- Agreements: These require a signature and are tied to specific packs or memberships (e.g., 10-class pack terms).
Both are essential for legal protection and clear communication.
🎥 Watch the walkthrough:
Or preview it below:
Prerequisites
Before you begin:
- Have your policy content and agreement wording ready (consult your legal team)
- Admin access is required to edit profile and retail configuration
- Know which policies apply to all sign-ups, and which agreements are tied to packs or memberships
Step-by-step instructions
Step 1: Add or edit client policies
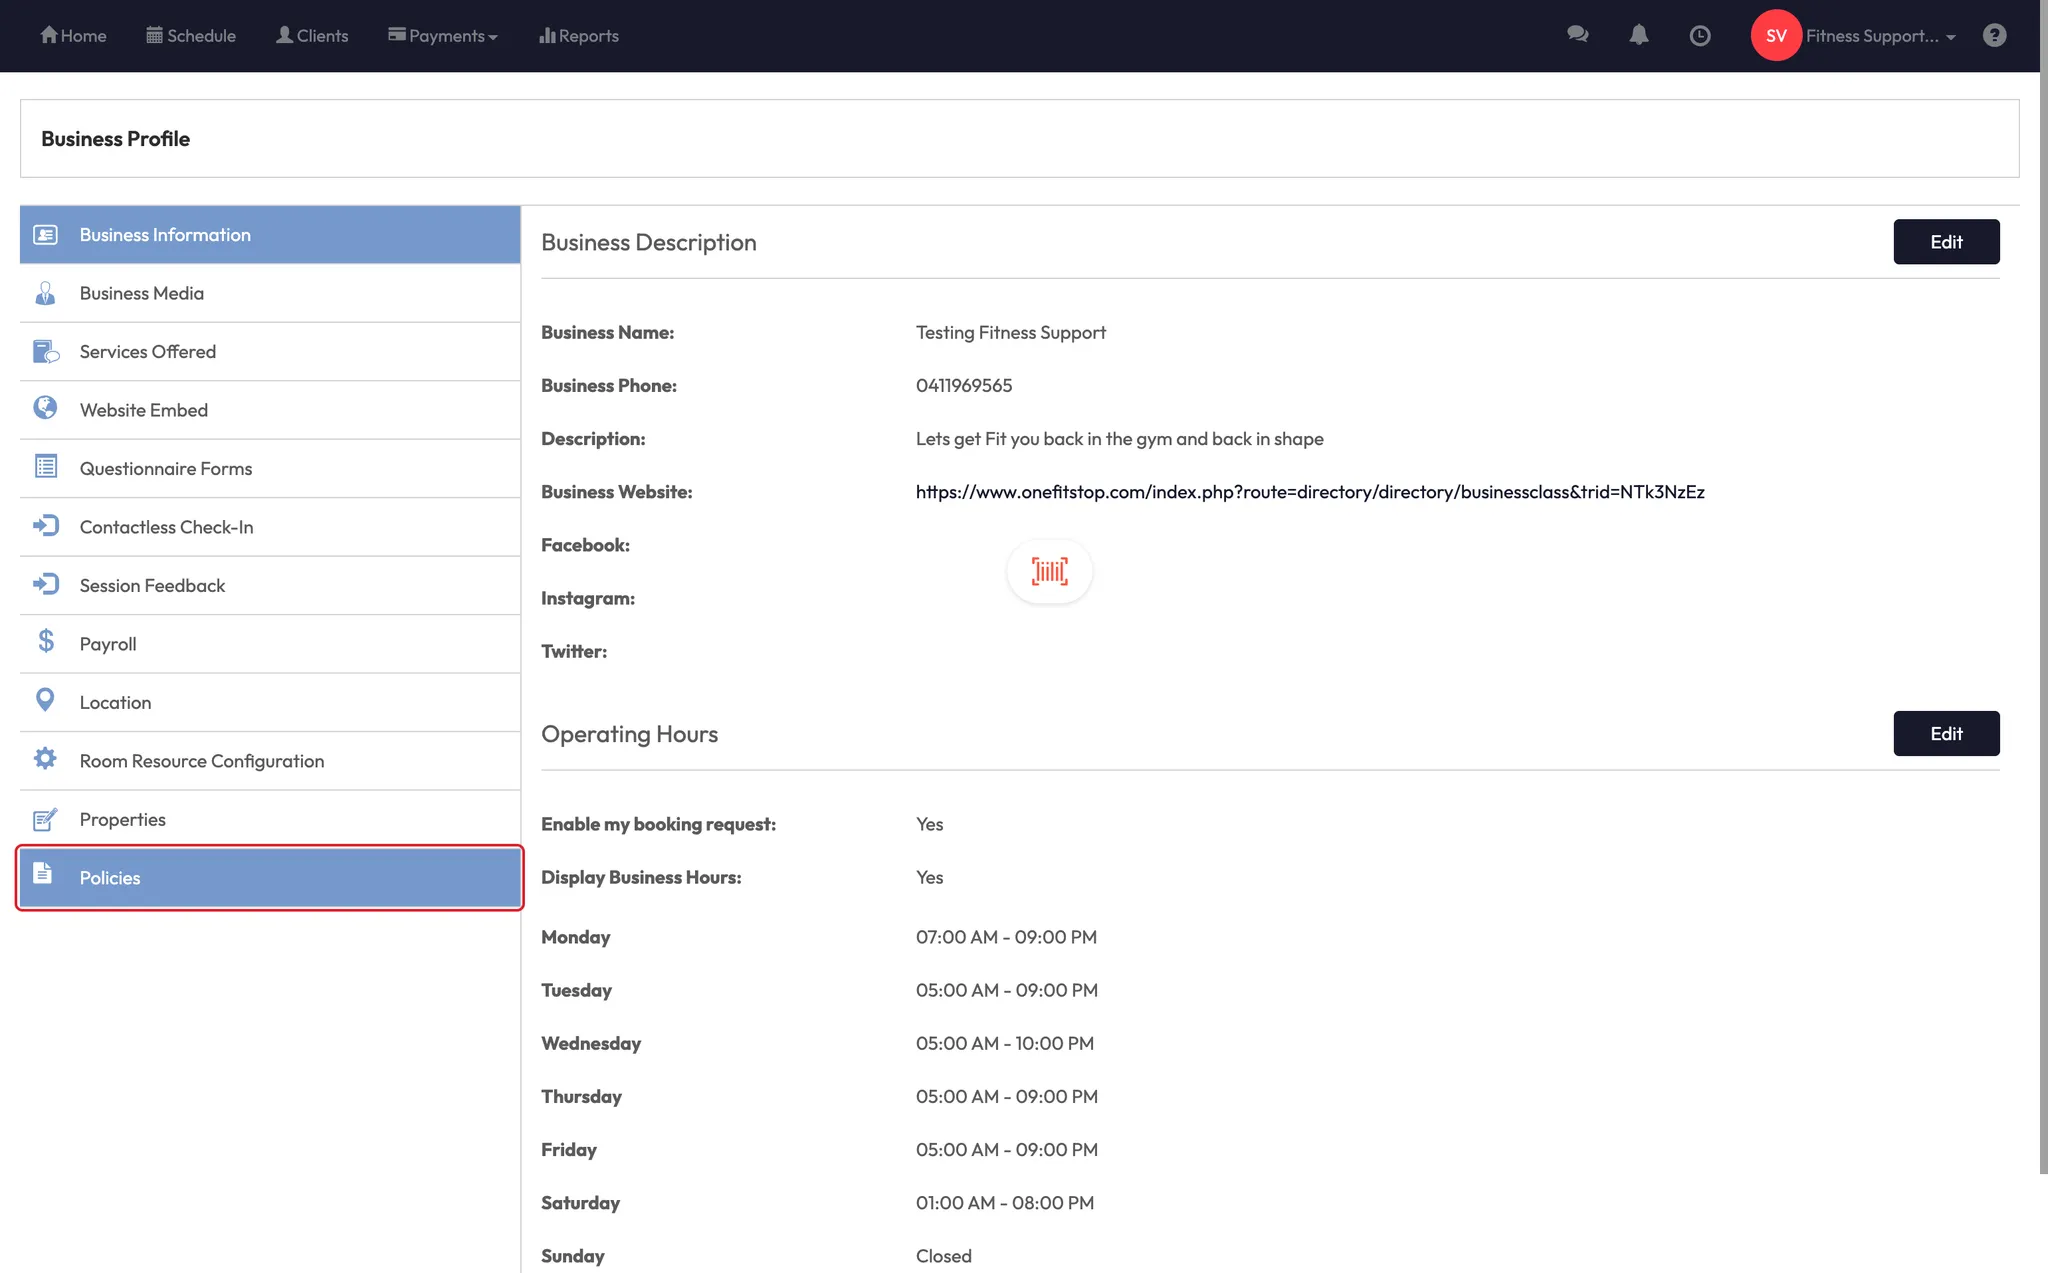
- Click your Studio Name > Edit Profile
- On the left menu, click Policies
- Click the + icon to add a new policy
- Fill in:
- Policy Name
- Policy Content
- Toggle Required to Agree to “Yes”
✅ Once enabled, clients will see this during sign-up and must tick a box to proceed.


Step 2: Add a policy to the sign-up flow
- Go to Account Settings > Configurations
- Click Client Sign-Up Fields
- Scroll down to the Policies section
- Ensure all required policies are toggled ON
Clients will see these during initial signup or when logging in for the first time.


Step 3: Create a package or membership agreement
- Go to Payments > Retail Configuration
- Choose either Session Packages or Memberships
- Click on a package/membership to edit
- Scroll to the Agreement Section and toggle ON
- Add your agreement text (terms, expectations, refund policy, etc.)
- Use shortcodes if needed (e.g. client name, start date)
- Tick Send electronic confirmation to email the agreement to the client
- Click Save


Step 4: How agreements appear to the client
When a client purchases a pack or membership:
- They’ll receive an email prompt to review and sign
- On next login, the system will prompt them to sign digitally before activating the pack
- You can choose to collect the signature on-screen in person, or send it to them remotely
⚠️ Avoid using “Display and Collect Signature” unless the client is present at the time of purchase.
Step 5: View what a client has agreed to
- Go to Clients and open the client profile
- Under Client Info, scroll to the Agreements section
- Click the eye icon to view:
- Policy: shows the date/time of acceptance (box ticked)
- Agreement: shows full contract and signature with download option
📄 Only agreements can be downloaded as PDFs; policies are visible in the profile only.


Expected outcome
Your clients will now be prompted to accept policies during sign-up and sign agreements when purchasing packs or memberships. All acknowledgements are stored in the client’s profile and timestamped for reference.
FAQs
Q: What’s the difference between a policy and an agreement?
A: A policy is accepted by ticking a box. An agreement is signed and tied to a specific pack or membership.
Q: Can clients skip signing the agreement?
A: No — if enabled, clients must sign before the pack or membership becomes active.
Q: Can I edit a policy or agreement after it’s live?
A: Yes — and if marked “Required,” clients must re-agree to updated versions.
Still need help?
Reach out to our support team via [email protected]

